Maintaining your stove burner heads is crucial for efficiency and safety. Over time, burner heads can accumulate debris, become clogged, or corrode, leading to uneven heating and reduced performance. Replacing them ensures your stove operates efficiently and prevents potential hazards. This guide walks you through replacing your stove burner heads safely and effectively, helping you restore your cooking appliance to its optimal condition.
Step-by-Step Guide to Replacing Stove Burner Heads
Before you begin, ensure the stove is completely turned off and disconnected from the power source or gas supply. Safety should always be a priority when working with kitchen appliances.
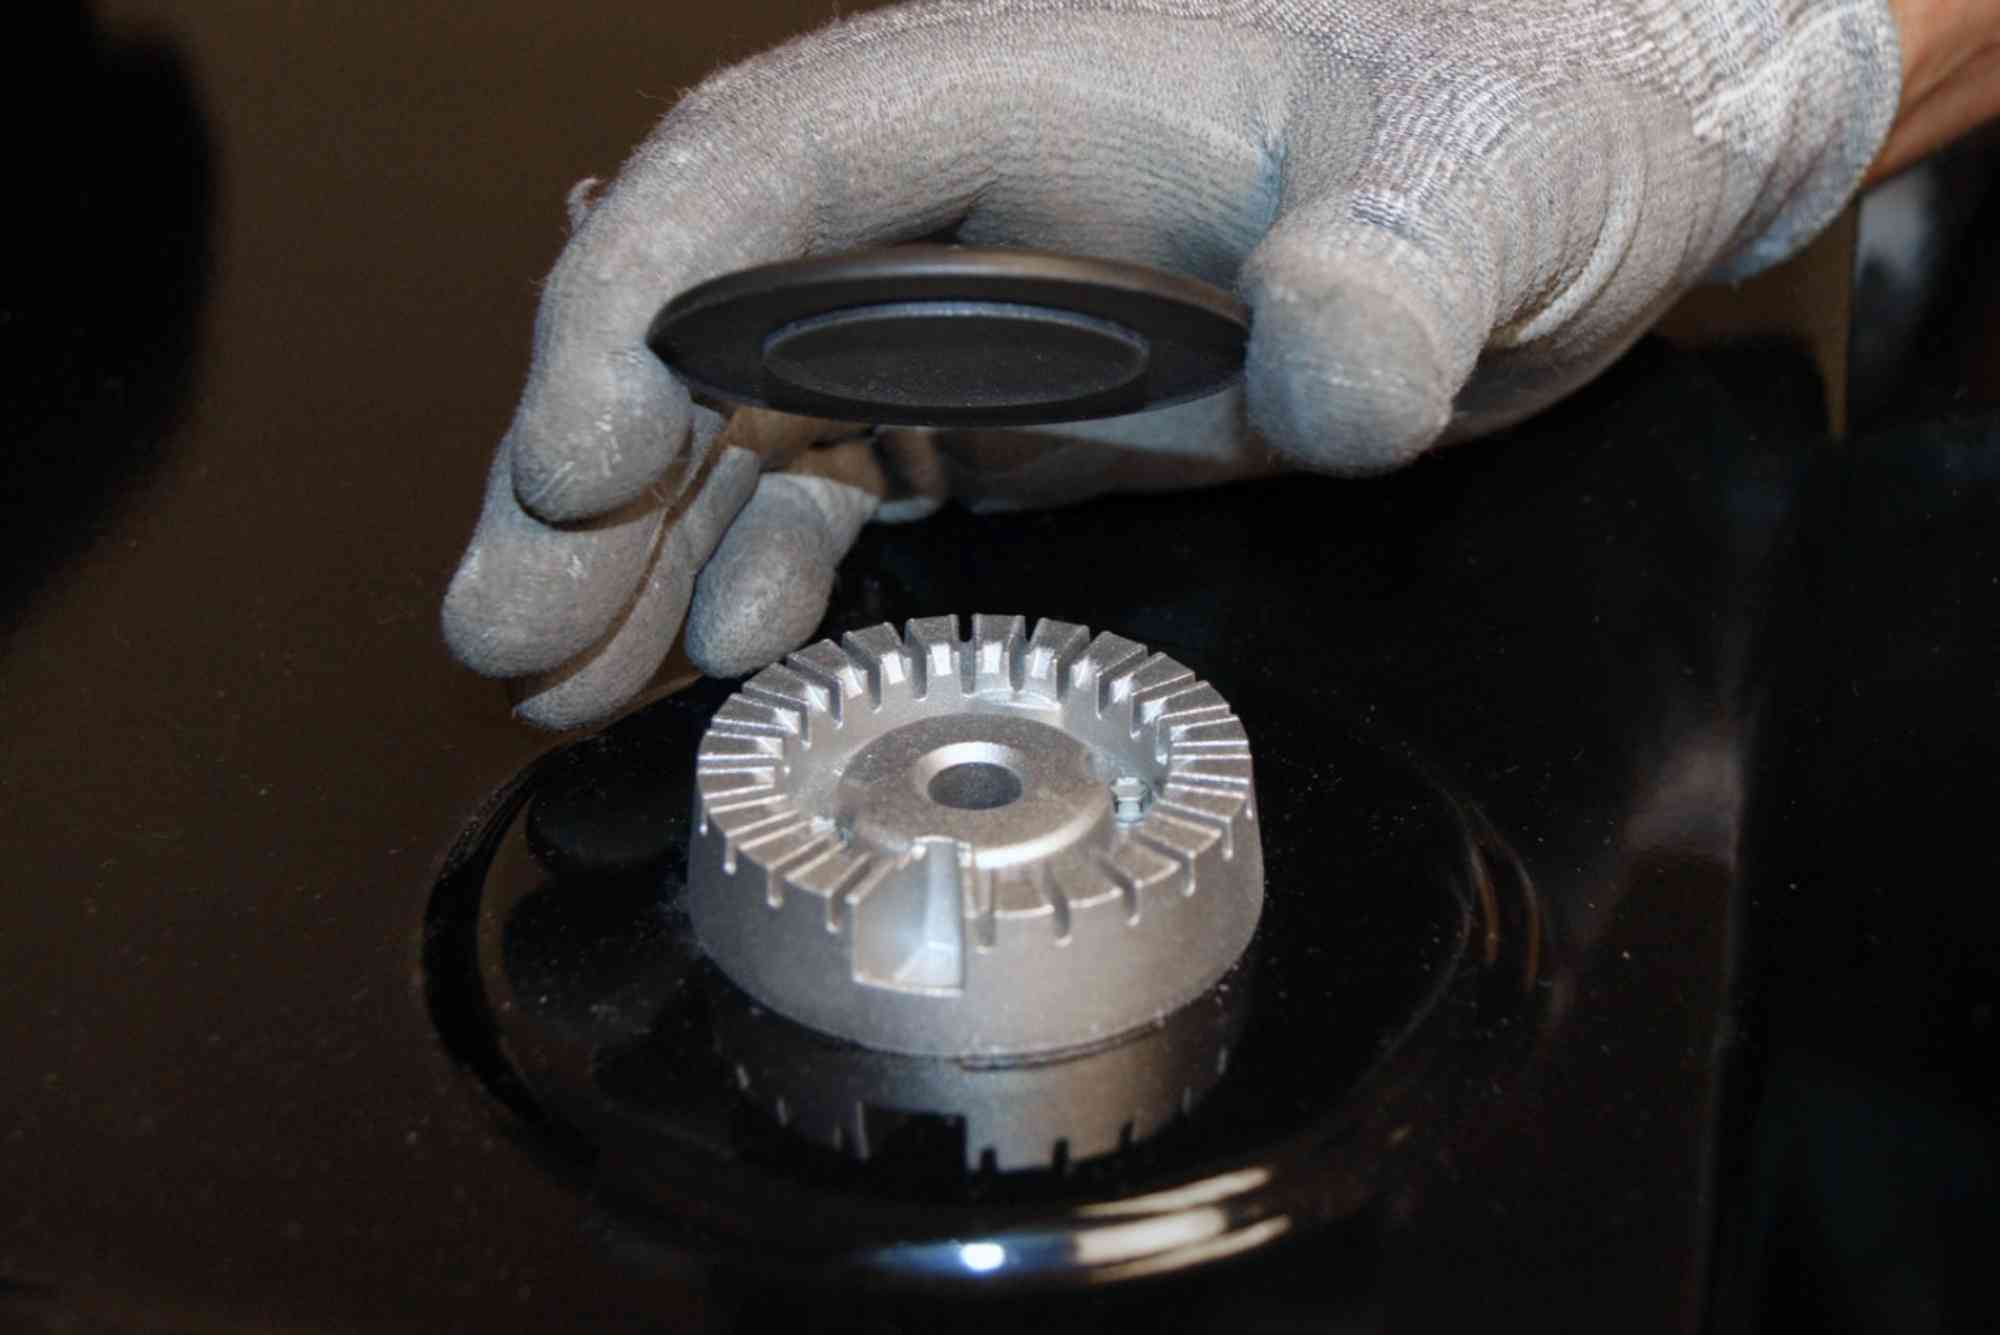
Start by carefully removing the grates covering the burner heads. Lift them gently to avoid scratching the stove surface. The burner heads are usually secured in place with a simple lift-and-twist mechanism. If they seem stuck due to residue buildup, gently wiggle them free. Cleaning the surrounding area before installing new burner heads is recommended to prevent future blockages.
Proper Installation of Replacement Burner Heads for Safe and Efficient Stove Operation
Inspect the replacement burner heads for compatibility with your stove model. Align them properly with the corresponding gas orifices. Place them securely to ensure an even gas flow and proper ignition. If applicable, reattach any screws or clips that hold the burner heads in place. Double-check that each burner head is seated correctly to avoid any malfunctioning issues.
Ensuring Proper Functionality After Installing New Burner Heads
After installing the new burner heads, reconnect the gas supply or plug in the stove. Test each burner individually to confirm proper ignition and an even flame distribution. If you notice an irregular flame pattern or ignition delay, remove and reseat the burner head to ensure it is positioned correctly. Additionally, wiping down the new burner heads with a damp cloth removes any manufacturing residue that could interfere with performance.
Essential Stove Burner Maintenance for Longevity and Efficiency
Regular maintenance extends the life of your stove burner heads. Clean them weekly to prevent clogs and ensure even heating. Use a soft brush or a pin to clear any debris from the gas orifices. Keeping burner heads free from grease and buildup enhances your stove’s longevity and maintains its cooking efficiency. If your stove continues to show signs of malfunction, seeking gas stove repair in Jumeirah is a reliable solution.
Why Replacing Your Stove Burner Heads Matters
Burner heads affect cooking efficiency by regulating heat distribution. Worn-out burner heads can lead to incomplete combustion, resulting in increased gas consumption and uneven cooking. Timely replacement improves performance and ensures safety by preventing gas leaks or flare-ups. Choosing high-quality replacement parts enhances durability and minimizes the need for frequent repairs. If your stove requires further servicing, consider contacting professional services like Buddy Movers Cargo and Shipping for assistance.
Related FAQs
How often should I replace stove burner heads? Burner heads should be replaced every two to three years, depending on usage and maintenance. Regular cleaning prolongs their lifespan.
What are the signs of a faulty burner head? Uneven flame, delayed ignition, excessive gas odor, or visible corrosion indicate a malfunctioning burner head that requires replacement.
Can I use universal burner heads for any stove? While some universal burner heads fit multiple models, always check compatibility with your stove manufacturer to ensure proper function.
What should I do if my new burner heads don’t ignite properly? Ensure they are correctly positioned and securely in place. If issues persist, inspect the gas supply and connections.
Where can I get professional stove repair assistance? For expert repair services, visit The JVC Tech Location to find trusted technicians near you.